
There are probably many of you who don’t fully know the designing process when hiring an architecture service. Therefore, we are going to share detailed information regarding the step-by-step Process of House Designing, particularly at Emporio Architect.
A. LAND MEASUREMENT AND TEST
Before reaching an architect, it would be best if you had prepared the accurate land measurement beforehand to ensure a faster and more effective process. You can hire a land measurement service that’s available in your area or the surrounding regions.
With the help of land measurement service and theodolite, the measured land will be precise and can be trusted as a base of the design process. It needs to be noticed that imprecise land measurement can create a lot of problems during development. Therefore, ensure that the measured land is conducted with the help of professional and sufficient equipment.
Other than land measurement, a soil test is also needed to help the structural expert to analyze the perfect building structure for the land because soil condition differences will require a different structure and foundation type.
B. CONSULTATION & BUDGETING

This is the first step after reaching the architecture service of your choice for the first time. Inform the space necessities and the budget you have prepared to the customer service so the design and the development process can be started and finished flawlessly. With the budget and space necessities informed, the architect will be able to start optimizing the spatial arrangement in accordance with the client’s needs and budget. If the space necessities leapfrog the client’s budget, the architect will warn the client and provide other alternatives.
The necessary data during the consultation are:
- Land Measurement or Dimension
- Soil test and Land Topography Data
- Land’s Position, Direction, and Orientation
- Front Road Width
- The preferred Design Style
- The Floor Plan
- Type and Amount of Space Needed and Desired Facilities
- The Development Budget
- Particular Local Regulations (if There’s Any)
C. LAYOUT PROPOSAL STAGE
Once the relevant information has been informed to the customer service, all the data will be submitted to the architect, which will then be analyzed and drafted on the layout in accordance with the space necessities data. In this stage, the architect will reach you through either WhatsApp, Teamviewer, or zoom for virtual meetings.
If the land measurement does not meet the needed space for all the necessities, the architect will provide a few alternatives for an additional floor plan or reducing the amount of space. The architect will also inform the estimated size of the building area needed for the client’s space necessities.
The layout concept proposed in this stage is only the initial idea. The client has the right to revise the layout after the first stage payment has been settled.
D. FIRST STAGE PAYMENT

In order to officially start the collaboration with Emporio Architect, the client needs to settle the first stage payment in accordance with the proposal and invoice that have been submitted. The payment can be processed through Bank transfers or PayPal listed on the invoice.
Once the transaction has been settled, the client needs to confirm the settled payment on the WhatsApp group or contact the phone number listed on the submitted invoice to obtain the payment receipt. Then, the client can officially start collaborating with Emporio Architect’s team.
E. LAYOUT CREATION AND REVISION STAGE
Once the first payment is settled, the layout creation and revision stage can be started. When the layout is being drawn, there are several things that need to be intensively discussed with the architect. These are the topics of discussion that need to be discussed during the layout creation.
- Position and Placement of Service and Utility Spaces:
- Maid Bedroom
- Maid Bathroom
- Wet Kitchen
- Wash Room
- Ironing Room
- Drying Room
- Diesel Machinery Room
- Storage
- Garage & Carport
- Trash Area
- Position and Placement of Public Spaces:
- Front Garden
- Living Area & Foyer
- Public Workspace
- Home Library/Reading Room
- Position and Placement of Semi-Private Spaces
- Family Room
- Dry Kitchen
- Backyard/Back garden
- Gym/Fitness Area
- BBQ Area
- Pool Deck & Swimming Pool
- Movie Room, Home Cinema, etc.
- Position and Placement of Private Spaces
- Master and Other Bedrooms
- Walk-In Closet
- Master and Other En-suite Bathroom
- Kids Bedroom
- Kids Walk-in Closet
- Kids Bathroom
- Bunker Room
- Vault Room to Store a Safe
- Panic Room
- Space Measurement
- Placement and furniture zoning, such as wardrobe, sofa, table, bed, and electrical goods, such as TV, refrigerator, washing machine, sound system, water dispenser, oven, etc.
- Placement of doors and windows
- Optimization of the Total Building Area
- Fengshui Layout Settings
In this stage, Clients have the right to as for revisions of the layout, spatial arrangement, shifting, reducing, expanding, decreasing, and increasing the number of spaces and the sizes.
F. THE SECOND STAGE PAYMENT
Once the client feels satisfied with the layout plan and the building area measurement, the architect will proceed to the invoice proposal of the second stage payment to create the 3D model. Once the payment is settled, the client needs to confirm to obtain the payment receipt and the next service.
G. THE 3D MODEL CREATION STAGE
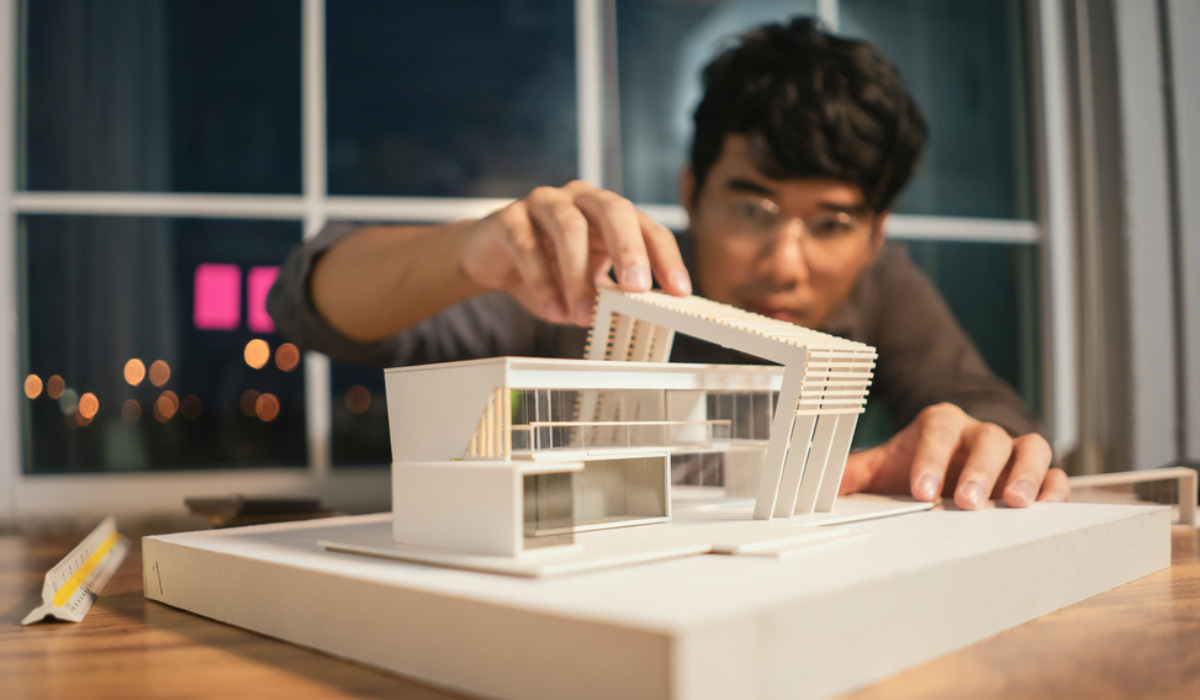
After the second stage payment is settled, the architect will proceed to the discussion of the 3D modeling creation. 3D modeling is the development of the 2D layout (2D = X & Y axis) that has been done previously by adding shapes and forms onto the Z-axis. The 3D modeling created by the architect uses highly sophisticated 3D modeling technology.
The topics of discussion in this stage are:
- Building Style or Display
- Building Color or Tone
- Spaces Color or Tone
- Building Height
- Roof Model
- Gate Model & Height
- Door Model & Height
- Windows Model & Height
- Ceiling Model & Height
- Ladder Model & Height
- Floor Model & Height from Courtyard
- Lighting Model & Position
- Garden Model
- Swimming Pool Model
- Spaces Visualization with standard furniture & interior models (Coarse Rendering)
- Shapes Visualization of Building/Exterior (Coarse Rendering)
H. THIRD STAGE PAYMENT
Once the client approved the 3D modeling and initial visualization submitted, the next step is the architect will send an invoice of the third stage payment for the creation of architectural, structural and MEP (mechanical, electrical and plumbing) technical drawings, soft visualization, budget estimation and 3D video of the finished design. After the third stage payment has been settled, the client needs to confirm in order to obtain the payment receipt and proceed to the next step.
In the third stage, the client no longer has the privilege to revise the layout or the 3D modeling. This stage will involve discussions between the client and Emporio Architect team regarding:
- Lamp Points
- Switch Points
- Faucet Points
- Water Tank Position
- Water Pump Position
- AC Position
- Sanitary Materials Needed
- The Interior Design (if the client chose the Architecture + Interior design package services)
I. THE CREATION OF SOFT VISUALIZATION STAGE
Once the third stage payment is settled, the architect will coordinate the finished design with the render team (visualization experts) for the creation of the exterior and interior soft render visualization, as well as the 3D design video. This stage will be done in parallel with the creation of the technical drawings.
J. THE CREATION OF ARCHITECTURAL TECHNICAL DRAWING STAGE
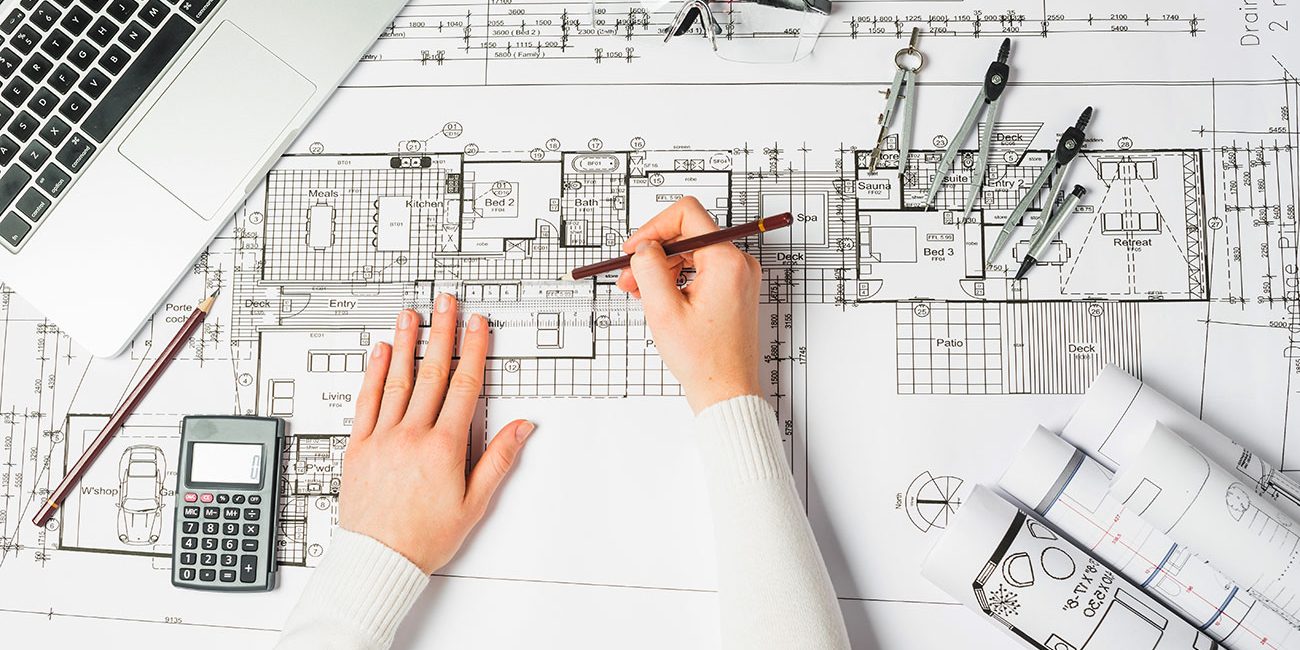
The Architect team will also coordinate the client’s building design project with drafters/drawing experts to start creating the detailed architectural technical drawing, such as:
- Ground Floor Plan
- First Floor Plan
- Second Floor Plan (and so on)
- Roof Plan
- Front View
- Right Side View
- Left Side View
- Rear View
- A-A Section
- B-B Section
- C-C Section
- D-D Section
- Door & Window Frame Plan (Ground Floor)
- Door & Window Frame Plan (First Floor)
- Door & Window Frame Plan (Second Floor and so on)
- Door & Window Frame Plan (Roof Plan)
- Frame Details (Layout, View, Frame Sections)
- Ceiling Plan (Ground Floor)
- Ceiling Plan (First Floor)
- Ceiling Plan (Second Floor and so on)
- Floor Pattern Plan (Ground Floor)
- Floor Pattern Plan (First Floor)
- Floor Pattern Plan (Second Floor and so on)
- Master Bathroom Plan
- Master Bathroom Details (A-A Section)
- Master Bathroom Details (B-B Section)
- Master Bathroom Details (C-C Section)
- Master Bathroom Details (D-D Section)
- 1st, 2nd, 3rd, (and so on) Stairs Plan
- 1st, 2nd, 3rd, (and so on) Stairs Details
- Gate Details
K. THE CREATION OF STRUCTURAL TECHNICAL DRAWING STAGE
Parallel to the creation of Architectural Technical Drawing, the Architect team will also coordinate with the Structural Team in the structural planning of the building. In this stage, the soil test data is needed to determine the suitable foundation for the building. The structural technical drawings included:
- Palm/Bored Pile Foundation Plan
- River Stone Foundation Plan
- Tie Beam and Ground Floor Column Plan
- First Floor Beam and Column Plan
- Second Floor (and so on) Beam and Column Plan
- Roof Beam/Roof Gutter Plan
- Ground Floor Steel Plate Reinforcement Plan
- First Floor Steel Plate Reinforcement Plan
- Second Floor (and so on) Steel Plate Reinforcement Plan
- Roof/Roof Gutter Steel Plate Reinforcement Plan
- Grid X Portal (1 transverse portal)
- Grid Y Portal (1 longitudinal portal)
- Palm/Bored Pile Foundation Details
- River Stone Foundation Details
- Column Reinforcement Details
- Tie Beam Reinforcement Details
- Beam Reinforcement Details
- Wide Flange Steel Beam Structure Details (light steel roof structure not provided/by vendor)
- Plans, Sections and Steel Reinforcement Structures of Stairs
- Plans, Sections and Steel Reinforcement Structures of Swimming Pool
- Plans, Sections and Steel Reinforcement Structures of Pond
L. THE CREATION OF MEP (MECHANICAL, ELECTRICAL, AND PLUMBING) TECHNICAL DRAWING STAGE
In parallel with the creations of Architectural and Structural Technical Drawings, the Architect team will also coordinate with Drawing Experts/drafters in planning the electrical and water piping (mechanical, electrical & plumbing). The drawings included are:
- Electrical Plans (Light Points & Switches) of Ground Floor
- Electrical Plan (Light Points & Switches) of First Floor
- Electrical Plans (Light Points & Switches) of Second Floor (and so on)
- Electrical Plan (Socket Points & AC) of Ground Floor
- Electrical Plan (Socket Points & AC) of First Floor
- Electrical Plan (Socket Points & AC) of Second Floor (and so on)
- Electrical Plan (Socket Points & AC) of Roof Plan
- Lightning Rod Plan
- Lightning Rod Details
- Clean Water & Water Heater Installation Plan (Ground Floor)
- Clean Water & Water Heater Installation Plan (First Floor)
- Clean Water & Water Heater Installation Plan (Second Floor, and so on)
- Clean Water & Water Heater Installation Plan (Roof Plan)
- Dirty Water, Water Wastage & Rainwater Installation Plan (Ground Floor)
- Dirty Water, Water Wastage & Rainwater Installation Plan (First Floor)
- Dirty Water, Water Wastage & Rainwater Installation Plan (Second Floor, and so on)
- Dirty Water, Water Wastage & Rainwater Installation Plan (Roof Plan)
- Septic tank/Bio tank details
- Control Box & Biopore details
- Ground Tank Details
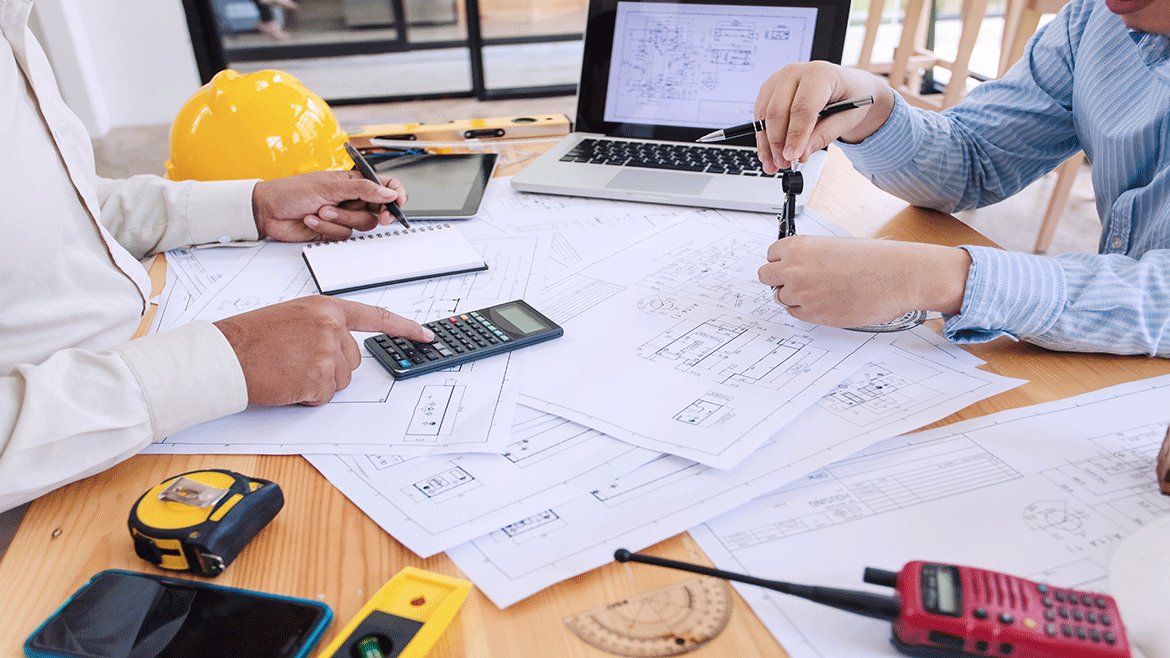
M. THE CREATION OF BUDGET ESTIMATION SUMMARY
Once every technical drawing has been completed by each team, the next step is, the estimator team to calculate the estimated budget for the development. The budget estimation summary can be used as a second opinion or comparison basis with the budget offered by the site contractors once the tender process is wrapped.
The client also needs to understand that the building area stated on the planning budget/architect usually has a different calculation from the contractor’s/estimator’s calculation. It happens due to the different references in the measurement. For instance, the architect only calculates parts of the building that were designed, the building’s center layer, and generally will not calculate the outer parts of the building. Meanwhile, the contractor usually calculates the entire parts built, including the outer parts of the building. This process is quite normal, and the most important thing is every item included in the budget estimation summary should be calculated in detail, along with the volumes and prices.
N. THE FINAL DESIGN CHECKING, PRINTING, & SHIPPING STAGE
In this stage, the drafters will do a thorough check regarding the design completeness before proceeding to print the design with A3 papers. The quality control team will then re-check the entire design before the package is shipped to the client.
Once the design is flawlessly re-checked, the documents and softcopy of the design files will be shipped using a third-party shipment service. The design process is considered finished once the client has received the design package. Should the client need further consultation regarding the design, Emporio Architect will still provide assistance until the building is fully constructed.
O. CONSTRUCTION SERVICES AUCTION/TENDER STAGE
Once the design documents and softcopy files are received by the client, the client can start conducting an auction or tender of the contractor services to hire. It would be better if the contractor meets these qualities:
- Experienced in constructing luxury houses
- Capable of reading technical drawings
- Have a clear contract
- Own necessary tools, equipment, and a clear office address
In order to conduct the tender process, it’s recommended to invite more than 1 contractor for an alternative or comparison. The client needs to carefully check and compare the budget estimation, as well as the collaboration contract from each contractor. If in doubt, it’s better to use a cost and fee system or builders, which allows the client to buy the materials by themselves for more control over the budgeting.
P. CONTRACT DEVELOPMENT STAGE
During the development process, ensure that the process has a pen-to-paper contract of both parties. Secure the transaction by signing the contract and keeping a copy of the contractor’s government ID.
If the client doesn’t have time to intensively supervise the development process, we recommend hiring a professional supervisor who’s able to provide working progress reports on the site at all times. With the help of a professional supervisor, the development process will be smoother and more efficient, and the result will fully meet the expectations in accordance with the design.
Those are the detailed step-by-step design process at Emporio Architect. Once you’ve read it, you should now be even more prepared to realize your dream house with a professional architecture service, like Emporio Architect. What are you waiting for? Get up and say hello to Emporio Architect’s customer service to start your consultation and book the services. The next thing for you to do is simply sit back, relax, enjoy your beverages, and let us do the magic!

If you have any questions, please consult with us.


